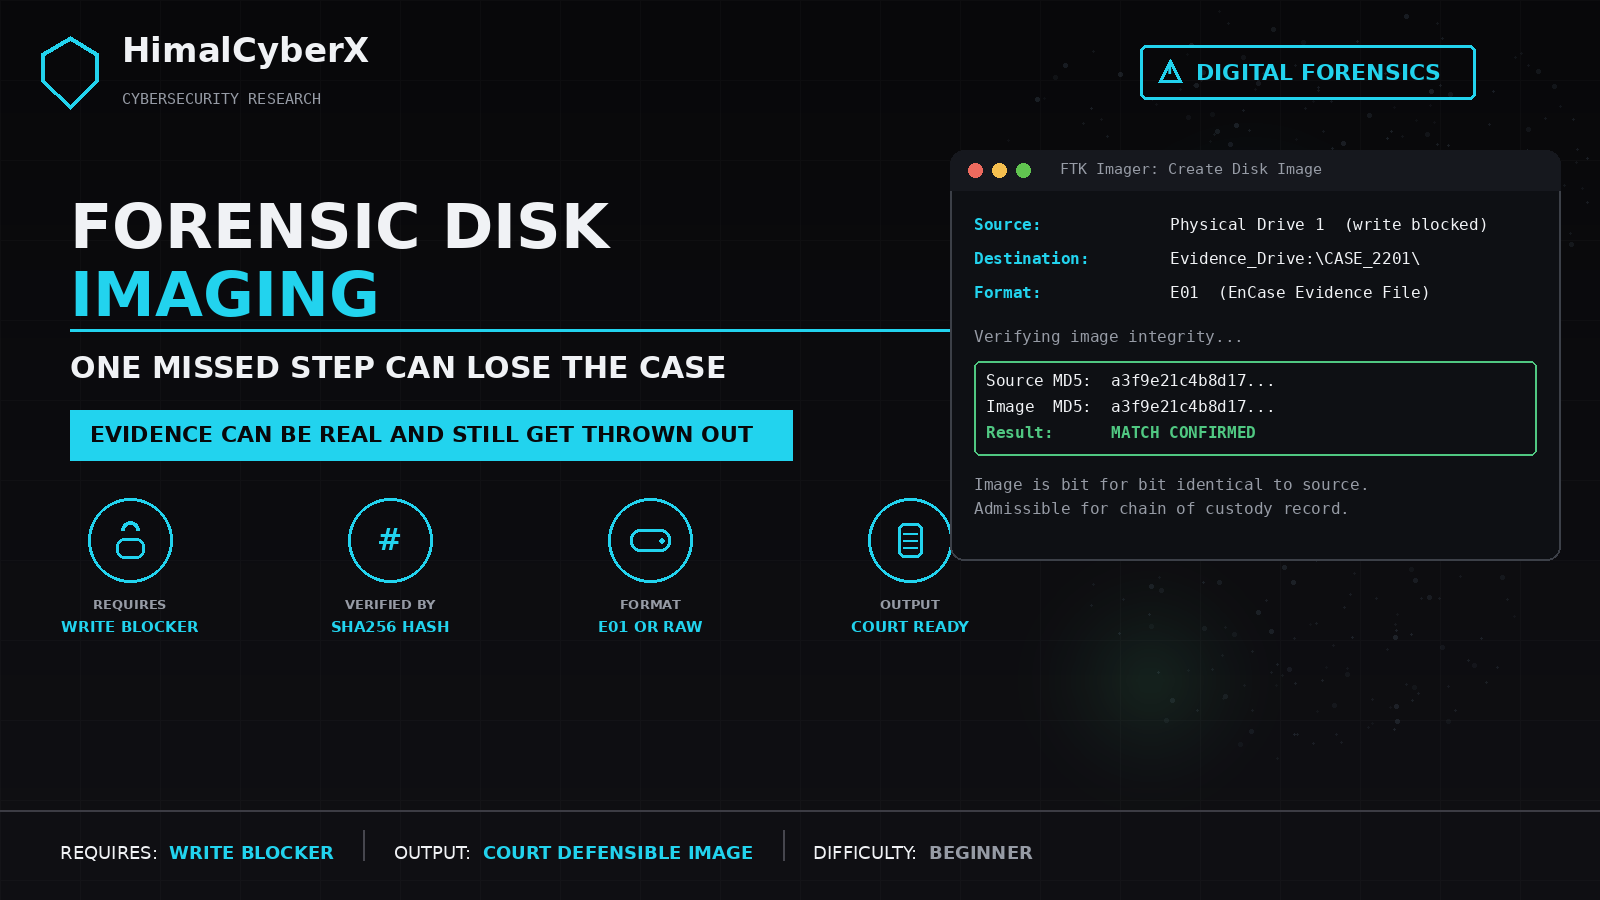
Forensic Disk Imaging: How One Missed Step Can Get Evidence Thrown Out
In the case of United States v. Scott, prosecutors had digital evidence central to their case against the defendant. It didn't matter. The defense discovered that the evidence had been transferred between multiple officers without proper logging, and that storage conditions along the way hadn't been adequately controlled. The chain of custody was broken, the evidence's reliability was successfully challenged, and the case that had looked solid on paper fell apart in court.
This is the reality that makes forensic disk imaging one of the most procedurally strict activities in all of cybersecurity: the technical work can be flawless, and the case can still be lost, because digital forensics isn't just a technical discipline; it's a legal one, where every step exists specifically to survive cross-examination.
Why a Normal Copy Isn't Enough
Copying files from a suspect drive using a regular file manager seems like it would work, and technically it would preserve the visible files. But it fails forensically for several serious reasons. A standard copy operation only captures active, visible files; it misses deleted files still recoverable from unallocated space, file slack (leftover data in the unused portion of a file's last disk cluster), and metadata like file system timestamps that are often central to establishing a timeline. Worse, simply mounting or browsing a drive normally can itself alter it; the operating system may update access timestamps or write journal entries the moment the drive is connected, destroying the very evidence you're trying to preserve before analysis even begins.
A forensic image solves this by capturing a bit-for-bit (bitstream) copy: every sector on the drive, exactly as it exists, including deleted and hidden data, combined with technical controls that guarantee the source was never modified in the process.
Write-Blockers: The Control That Makes Everything Else Defensible
A write-blocker is a hardware device (or, less commonly, a software control) placed between the evidence drive and the forensic workstation that physically or logically intercepts and rejects any write command, while still allowing read operations to complete. Without one, the simple act of connecting a drive to a standard computer can trigger the OS to write metadata to it, updating the drive's own internal timestamps or logs, which is enough to let a defense attorney argue the evidence was altered after seizure. Using a hardware write-blocker isn't a best-practice suggestion; in any case where evidence might end up in court, it's treated as a baseline, non-negotiable requirement, precisely because it removes an entire category of "was it modified" challenges before they can be raised.
The Imaging Process with FTK Imager
FTK Imager, a free tool from Exterro, is one of the most widely used tools for this exact task. The core workflow:
Connect the source drive through a hardware write-blocker every single time, with no exceptions, regardless of how routine the case seems.
Select the acquisition type. A Physical acquisition captures the entire drive, including unallocated space and space between partitions; this is the standard for a full forensic investigation. A Logical acquisition captures only a specific partition or volume, useful when only a portion of the storage is relevant and physical access to the whole device isn't necessary or possible.
Choose a destination on separate, dedicated evidence media, never on the examiner's own working drive, since that would create custody and contamination questions of its own.
Select an output format and enter case metadata (case number, examiner name, evidence description, date and time) directly into the tool, since this becomes part of the documented record automatically.
Run the acquisition. FTK Imager reads the source sector by sector and writes the image while simultaneously calculating cryptographic hash values.
Verify by confirming the hash of the completed image matches the hash calculated from the source.
E01 vs. Raw (dd): A Real Technical Choice, Not Just a Preference
E01 (EnCase Evidence File) is a forensics-specific, typically compressed format that embeds case metadata and hash values directly inside the image file itself, which is convenient for keeping documentation attached to the evidence but ties you to tools that support the format.
Raw/dd produces an uncompressed, byte-for-byte copy with no embedded metadata, at the cost of larger file sizes, but with near-universal compatibility across virtually every forensic analysis tool, including free tools like Autopsy and command-line tools like dc3dd on Linux examiner workstations.
For law enforcement and most professional casework, E01 remains the more common default; for maximum tool-agnostic flexibility, especially in Linux-based workflows, raw imaging (via tools like dc3dd or Guymager) is often preferred.
Hash Verification: The Mathematical Proof That Holds Up in Court
Immediately after and ideally also during imaging, FTK Imager calculates a cryptographic hash of both the source drive and the completed image, commonly using MD5 and increasingly SHA-256 given known theoretical weaknesses in MD5 for adversarial contexts. If the two hash values match, it constitutes strong, mathematically verifiable proof that the image is bit-for-bit identical to the original at the moment of acquisition. This single number is frequently the crux of expert testimony: a forensic examiner in court routinely explains the acquisition process, the tool used, and the matching hash values specifically because that match is what lets a judge or jury trust that the copy being analyzed is the same as what was originally seized not a reconstruction, and not something altered afterward.
Mounting Read-Only and Working Exclusively on Copies
Once verified, the image should be mounted in a read-only mode for analysis. FTK Imager supports this directly so that no analytical activity can modify it. Every subsequent step, from initial triage to deep analysis in a tool like Autopsy, happens on this verified copy. The original media, once imaged and verified, is placed into secure, access-controlled storage and, ideally, is never touched again unless a re-acquisition becomes necessary for some specific evidentiary reason.
Why This Level of Rigor Exists: What Actually Breaks a Case
The recurring failure points that courts have used to exclude digital evidence are strikingly mundane, not exotic: evidence transferred between people without being logged, storage conditions that weren't controlled or monitored, gaps in the documented timeline between seizure and analysis, and missing or incomplete records of who accessed evidence and why. As legal analysis of this issue consistently notes, the pattern is simple: "when the handling record cannot show that the evidence is what it claims to be, the court excludes it; the evidence may be genuine, but without a defensible chain the court cannot treat it as such." A technically perfect forensic image, undocumented, is legally almost worthless in an adversarial proceeding. A technically simple image, meticulously documented at every step, is far more likely to survive challenge.
Documentation: Where the Legal Case Is Actually Built
Every acquisition should be documented with, at minimum: the exact date and time of acquisition, the tool and version used, the source device's identifying information (make, model, serial number), the calculated hash values, the name of the examiner, and the specific reason evidence was accessed at each subsequent stage. This isn't paperwork for its own sake; it is, functionally, the actual evidence of integrity that a court will rely on more heavily than the technical imaging process itself. Enterprise incident response teams handling potential legal exposure are increasingly advised to pre-deploy imaging tools and documented collection procedures before an incident occurs, specifically because improvising chain-of-custody discipline in the middle of a live incident is where these failures most often originate.
Conclusion
Forensic imaging is often taught as a purely technical skill: learn the tool, run the acquisition, verify the hash. That's necessary but insufficient. The technical process and the documentation process are equally load-bearing; a case can survive a technically imperfect image with impeccable documentation of what happened and why, but it rarely survives a technically perfect image with a documentation gap. Treat every acquisition as though it will eventually be cross-examined, because in any case with real stakes, it eventually will be.
Refrences
Exterro — FTK Imager (free download) https://www.exterro.com/ftk-imager
NIST SP 800-86 — Guide to Integrating Forensic Techniques into Incident Response https://csrc.nist.gov/publications/detail/sp/800-86/final
American Military University — How to Maintain Chain of Custody for Digital Forensic Evidence https://www.amu.apus.edu/area-of-study/criminal-justice/resources/how-to-maintain-chain-of-custody-for-digital-forensic-evidence/